x
Looking for something specific?
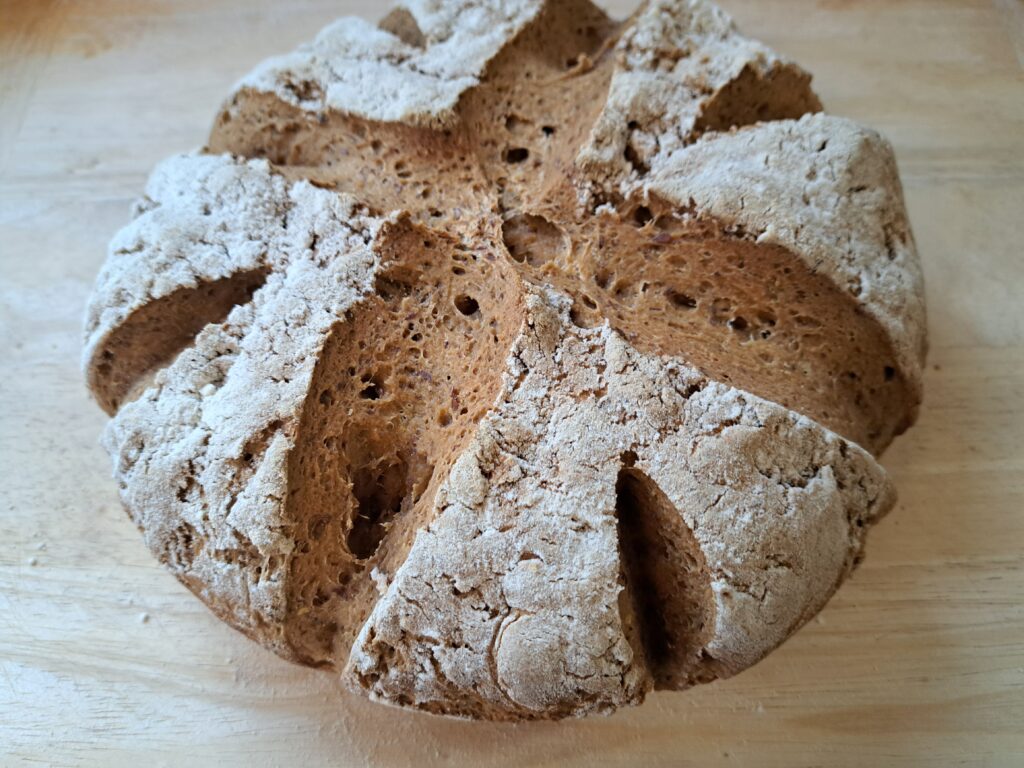
A crusty loaf of fresh gluten free sourdough bread
This sourdough bread comes out of the oven with a crusty crust, a soft interior, and makes the whole house smell like fresh bread. It tastes like real bread, with all the delicious sourness of sourdough. It is also made with wholegrain flours, not just starches!
Sourdough bread is often touted as being good for you. There are even some suggestions that it is easier for people with gluten sensitivity to digest. This is because the good yeasts and bacteria in the sourdough starter ferment the sourdough as it rises, making the bread easier to digest in general.
But is sourdough bread naturally gluten free? No, no it is not. Sourdough bread is usually made with wheat, and wheat contains gluten. If you have coeliac disease or a serious gluten intolerance, then you should not eat wheated sourdough. Or at least, I would not recommend it.
But you can bypass the whole question, and make gluten free sourdough bread.
Good gluten free bread has to be made at home. Yes, you can find gluten free products at the grocery store. In fact, the gluten free aisle at the grocery store is full of bread products that taste like cardboard. Bagels, sandwich bread, hamburger and hotdog buns - they are all passable if you toast them, or cover them with butter. But they add nothing to a meal. Most of the premade gluten free options taste like cardboard. And if you look at the ingredient list, you will see that they are made of starch, and chemicals. Not really the "healthy" option, despite the reputation of the gluten free diet as healthy(ish).
The reality is that bread is a food designed around the properties of wheat. And the very thing we are trying to avoid in a gluten free diet - the gluten - is the property that makes bread work. It holds the dough together, and lets it stretch and rise. You will see and hear lots of mentions of "developing the gluten" in bread recipes or baking shows. None of that applies to gluten free bread. Or at least, it does not apply in the same way.
Gluten free baking is all about replacing the glutinous properties of wheat to get a similar result. In this recipe, I do that with flaxseed and psyllium husk. The flaxseed provides a gel and softness. The psyllium husk provides structure. The two of them together do a pretty good job of mimicking the natural properties of gluten and making the dough workable.
If you want a more textured wholemeal feel to the bread, you can also add chia seed. It will make the dough more gummy, so I recommend reducing the quantity of flaxseed to compensate. So, instead of doing 1/2 cup of ground flaxseed, do 1/4 cup flaxseed, and 1/4 cup chia seed.
I usually mix up the dough, and let the bread rise overnight in the oven with a damp cloth over it. By morning, it is doubled in size. The ~8ish hours of fermentation time gives it a nice sour flavor.
Unfortunately, I have not mastered the art of just using the natural rise of the sourdough starter, and so this recipe also calls for baking powder and baking soda.
There is another version of this recipe which is just a "quickbread" with no sourdough or rising required. Click here for my brown quickbread recipe.

(1) Mix together the sourdough starter, brown rice flour, white rice flour, flaxseed, psyllium husk powder, and salt. You want all the ingredients to be combined; the texture should be similar to course sand.
(2) Add the blackstrap molasses. Then add the water slowly while mixing. A stand mixer makes the process a lot easier and faster!
(3) Keep adding water until the dough looks a tad soupy. Then continue to mix until the flour fully absorbs the water (this is the psyllium husk and flaxseed doing their work!).
(4) The dough will be workable after about 3-5 minutes. You should be able knead the dough, with a little more brown rice flour, and it should not be overly sticky.
(5) Form the dough into a loaf shape, and place it in a bowl with a damp towel over it. Let it rise in a warm place overnight, or for approximately 8 hours. You can also proof the dough in the refrigerator, but it will take much longer to achieve the same rise.
(6) When you are ready to bake, preheat the oven to 400 degrees Fahrenheit. Re-shape your dough, and place it in a cast iron dutch oven. Dust with more brown rice flour, and then score the top. This is to help the loaf expand, and it makes it pretty. Put the lid on the dutch oven.
(7) Put your dutch oven - with the shaped loaf - into the oven before it is completely warm. You want the oven and dough to warm up with the oven. Bake for 20 minutes.
(8) Remove the lid at the end of 20 minutes; this will let the load brown nicely. Continue baking for 20-30 minutes.
(9) When the bread is done, it will be golden brown with a hard "crusty" crust. Best enjoyed warm with butter!

