Looking for something specific?

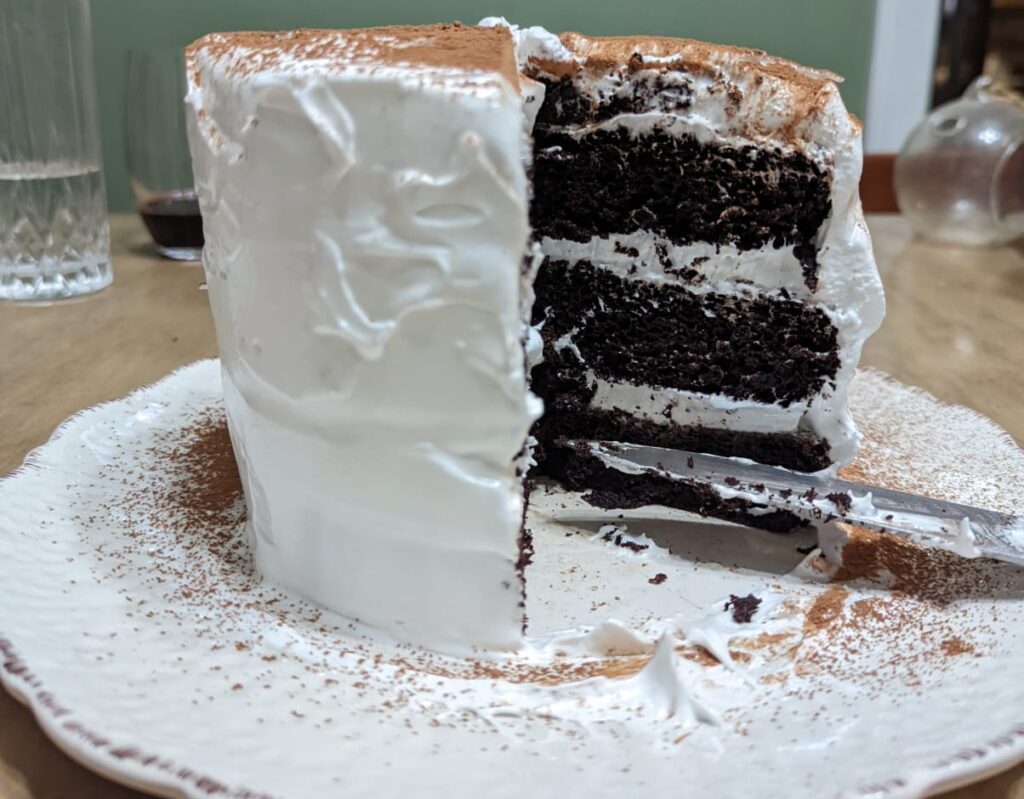
The perfect companion to any sort of frosting or decoration. This gluten-free chocolate cake recipe delivers all of that, and more. The bite is soft and moist, with a rich chocolate flavor that satisfies without being overly sweet.
This recipe comes from a cousin of my grandmother, and I have adapted it to be gluten free without losing what made it special in the first place. The result is a cake that is every bit as satisfying as a traditional version, with a soft crumb and full chocolate flavor. It also happens to be straightforward to make, which makes it easy to come back to again and again.
You can top this cake with just about anything, from buttercream to whipped cream, but the standout choice is Italian meringue. Light and fluffy, it adds a marshmallow-like layer that pairs beautifully with the rich chocolate beneath. My entire family demands it every time I make cake.
There is something deeply satisfying about a cake made from scratch. It gives you the opportunity to use whole ingredients to make a perfectly delightful dessert, tailored to your flavor and sweetness preferences. Boxed mixes are a quick fix, but they never taste as "real" as something you made from whole grain flours. And truly, baking cake from scratch is not intimidating. With a reliable recipe like this one, you can have a perfect chocolate cake in the oven in twenty minutes.
;void(0); "Share on pinterest")
(1) About 20–30 minutes before baking, remove the butter from the refrigerator and allow it to come to room temperature.
(2) Preheat the oven to 350°F. Grease one 9-inch cake pan or two 6-inch pans with butter, then dust lightly with brown (or white) rice flour. Tap out any excess.
(3) Separate the eggs. Beat the egg whites until soft peaks form, then set aside.
(4) In a large bowl, cream the butter and sugar together until light and smooth. Add the egg yolks and mix until fully incorporated. Stir in the vanilla extract and olive oil.
(5) Add the cocoa powder, baking powder, and salt. Mix gently, adding the coffee a few tablespoons at a time to keep the batter from getting too dense.
(6) Add the flour in portions, alternating with the remaining coffee. Mix until well combined.
(7) Fold in the beaten egg whites. Start by mixing in a small amount to loosen the batter, then gently fold in the rest until fully incorporated.
(8) Divide the batter and pour into your cake pan(s). Bake on the center rack for 40-45 minutes, or until a toothpick inserted into the center of the pans comes out clean.
(9) Let the cakes cool in the pan for 15–30 minutes, then turn them out onto a wire rack to cool completely.
(10) If you plan on decorating the cakes later, then level the cakes after the initial cooling and brush some simple sugar syrup on top (see recipe notes). This will keep the cakes moist for as long as 24 hours. Wrap in plastic wrap, and store in the fridge.
(11) Frost, decorate, and enjoy!
You may notice in my recipes that I do not use gluten free flour mixes. The reason is that the store-bought ones are mostly starch, and the at-home ones do not answer the needs of every recipe. Baking gluten free is always a balance of factors, so I find it much easier to tailor the exact flour mix to each recipe. The price is only one or two extra scoops of a second flour type, and the result is a much better baked good.
For this chocolate cake, I use white (or sweet) rice flour and sorghum.
White rice flour is also known as sweet or glutinous rice flour. It is commonly used in east Asian baking, and it gives a really interesting soft texture to baked goods. In this recipe, it is doing a lot of heavy lifting bringing the other ingredients together, and producing a nice moist soft crumb. Brown rice flour will also work in a pinch, but the white rice flour will make the softer cake.
The sorghum (or millet) flour is providing body. Sorghum flour is one of the closer gluten free flours to whole wheat: it provides an earthiness and satisfaction in baked goods. It is not empty calories, it will fill you up - in a good way!
Sorghum also has a native sweetness, which compliments sweet treats, especially when there are other strong flavors (like chocolate!) in play. If you are curious, you can read more about sorghum in my baking guides.
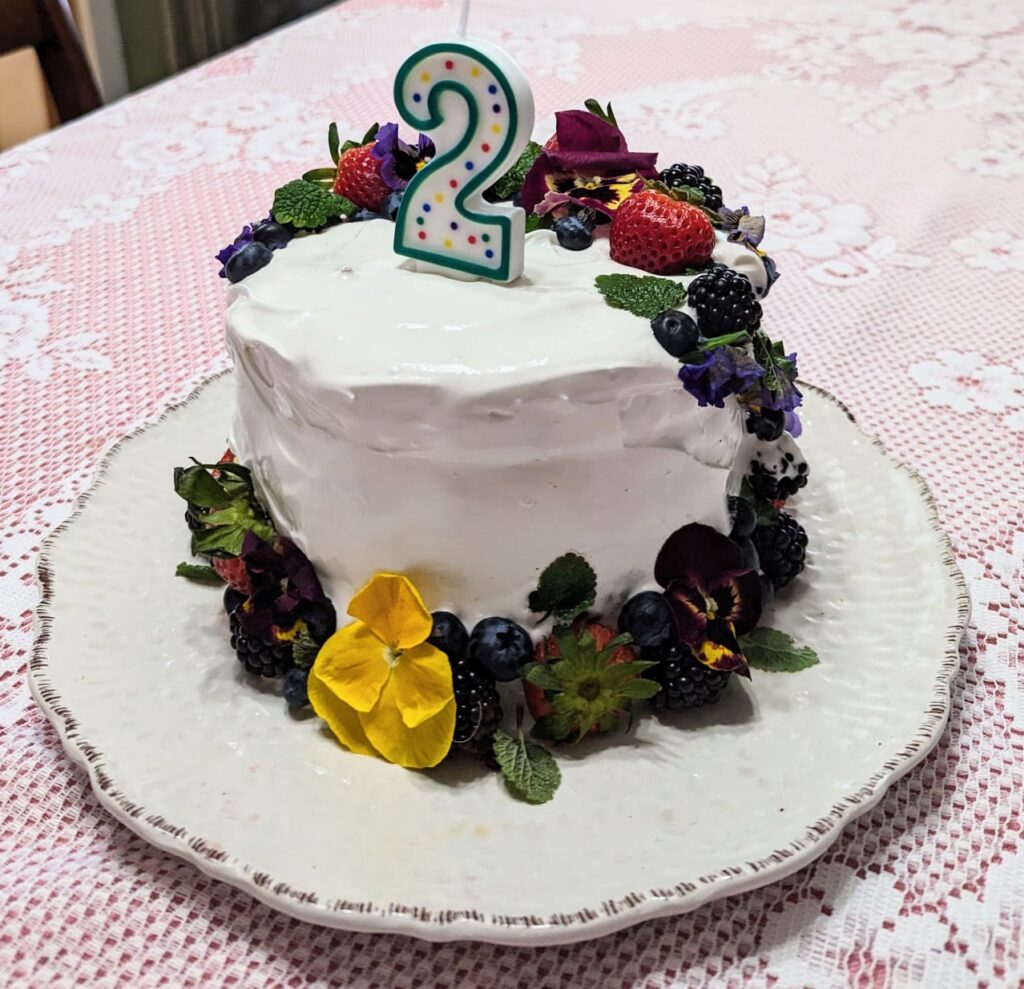
A two year old's birthday cake: chocolate with marshmallow frosting
Coffee is a great pairing with chocolate, and in the case of this recipe, it enhances the chocolatey flavor. You won't taste any coffee: just delicious chocolate. As the liquid in this cake, it also adds moisture and keeps the batter from getting too thick.
A word of warning: if you are planning on serving this cake to small children, use decaf coffee. The caffeine does not bake off the way that, say, alchohol does, and a small child hyped on both caffeine AND chocolate is terrifying (not to mention unhealthy).
While this recipe is written for a standard 9-inch cake pan, I almost always make it in 6 inch cake pans. Once you try a 6 inch pan, its hard to go back! Let me explain...
A 9-inch cake can be quite large. That is helpful for big gatherings, but not always practical for everyday baking. If you want a layered cake, a smaller pan gives you better proportions and a more elegant result without making an overwhelming amount of dessert. If you halve this recipe, you get one 6 inch cake. The full recipe makes two 6 inch cakes.
A single-layer 6-inch cake is just right for 2–4 people, making it ideal for a small celebration or a weekend treat without excessive leftovers. Two layers create a nicely balanced, tall cake that serves around 8–10. A third layer can turn it into something a bit more special without feeling oversized.
I use 6-inch cake pans regularly for this reason. They are easy to work with, produce beautifully proportioned cakes, and in general are very practical. If you are in the need of new cake pans, I have gotten years of good use out of these Wilton 6 inch cake pans.
A cake is barely cake without frosting, and part of the fun of making a cake is decorating it afterwards. The trouble is, the cake needs to be fully cool before decorating, and that means it can be impractical to decorate it and serve the same day.
Unfortunately, frosting is not just pretty, it serves the practical function of keeping the cake moist. This is especially critical with a gluten-free cake, which will often tend towards dryness over time, even with a good recipe. So if you need to keep the cake overnight to frost the next day, I recommend brushing it with a simple sugar syrup while it is cooling. This will add a little bit of extra moisture to tide it over, and can also be a fun opportunity to add a complimentary flavor (vanilla, more coffee, fruit...).
As the name suggests, simple syrup is a simple mixture of sugar and water. Add an equal quantity of sugar and water - a half cup of each is usually more than enough - to a saucepan. Cook on the stove at medium heat, stirring occasionally, until the sugar has dissolved. Add extracts or flavorings as desired if you want it to be less "simple."
If you are making the syrup ahead, let it cook for at least 5 minutes after the sugar has completely dissolved. This lets it get a little thicker and will keep the sugar from separating again the moment you put it in the refrigerator. Just don't boil it for minutes on end - if it gets too hot (as in, 240 degrees Fahrenheit or higher), then it will turn into candy. You want a slightly thick liquid, not toffee.
You want to apply the syrup to the cake when the cake is still a little bit warm. Say, 10-20 minutes after it comes out of the oven.
Before applying the syrup, you should go ahead and level it - i.e. cut off any doming, and make sure the top is nice and flat. Then brush the syrup onto the top of the cake, making sure to get good even coverage. It should soak right in.
Wrap your cake(s) up in plastic wrap, and store in the fridge. They should stay moist overnight. Just make sure you get that frosting on them within 24 hours!
This recipe makes delicious cupcakes, if you would rather have many small sweet treats instead of one large cake. A full recipe makes approximately 18 cupcakes. Check the cakes at ~25 minutes instead of the full 40 to make sure you do not overbake!
I love using a cast iron muffin tin for cupcakes. It is indestructible, and the cast iron bakes very evenly. I tend to do a half recipe of this cake to make 9 cupcakes. My muffin tin does 6 cupcakes at a time, and they take approximately 20-25 minutes to bake completely.
If you are interested, this is the lodge cast iron muffin pan I use.
No. Chocolate cake is usually made with wheat flour, which makes it very much NOT gluten free. This recipe uses a mixture of white rice flour, sorghum flour, and psyllium husk to replace the wheat flour.
Yes! This recipe makes about 18 cupcakes. You read about the baking time adjustments required in the recipe notes.
Yes! But you will want to make sure the cake does not get dry if you intend to leave it unfrosted for more than a few hours. Apply simple syrup can help, and you can read more about this in the recipe notes.
If you frost the cake the same day - even if its not fully decorated - there is no need to apply syrup. It will keep fine overnight in the fridge. The important thing is that the cake not be "naked" long after it has cooled.
If this recipe turns out dry, then it is usually a case of the liquid to flour ratio being off. The egg whites should be easy to fold in, and the resulting batter should be smooth and pourable.
If you end up with very thick batter, add more liquid - either more coffee, or water.
Alternatively, if you find your cake drying out very quickly after baking, you can brush it with simple syrup to help it keep its moisture. You can read more about this in the recipe notes.
Yes, you can substitute the coffee with warm water. Just know that the cake might be a little less chocolatey.
I have tested this recipe with 9 inch cake pans, 6 inch cake pans, and cupcake pans. It makes one 9 inch cake, two six inch cakes, or eighteen cupcakes.
I think it should do fine in a 9x13 sheet cake pan, but it will be a little thinner. To compensate, start checking it in the oven at the 35 minute mark instead of the 40 minute mark.
Chocolate cake has a way of marking the moments that matter, from celebrations to quiet evenings at home. Making it from scratch brings a level of care and intention that is hard to replicate any other way. With the right ingredients and a thoughtful approach, you can create a cake that is every bit as rich, soft, and satisfying as any wheat-based cake. You don't have to sacrifice on flavor or texture, just because you are gluten-free.

