Looking for something specific?

If you don't have sourdough starter to use, then you can skip the sourdough. Just increase the water amount a little if the batter seems too thick.
I make this cake with Bob's Red Mill All Purpose Flour. It is a blend of chickpea flour, potato starch, tapioca starch, sorghum flour, and fava bean flour. The result is a flour blend that has the same amount of protein as standard "white flour," but far more fiber. It has no xanthum or guar gum added. That works great for this cake, which is held together just fine by the eggs. If you use a flour blend with xanthum or guar gum instead you may get a slightly gummier cake.
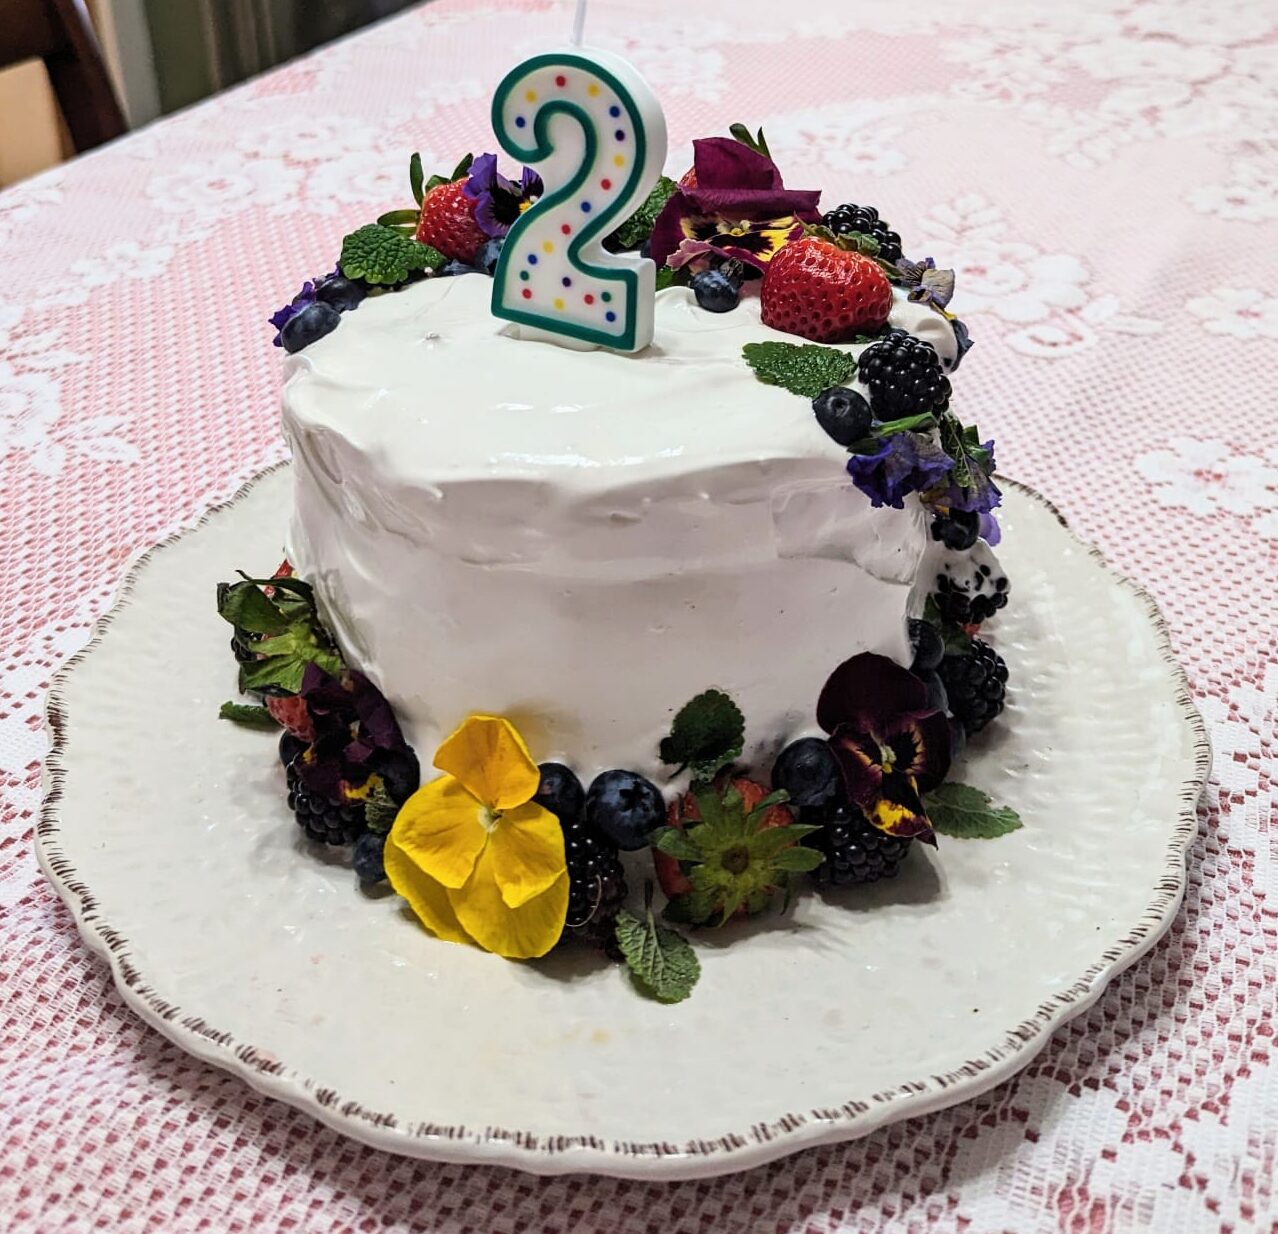
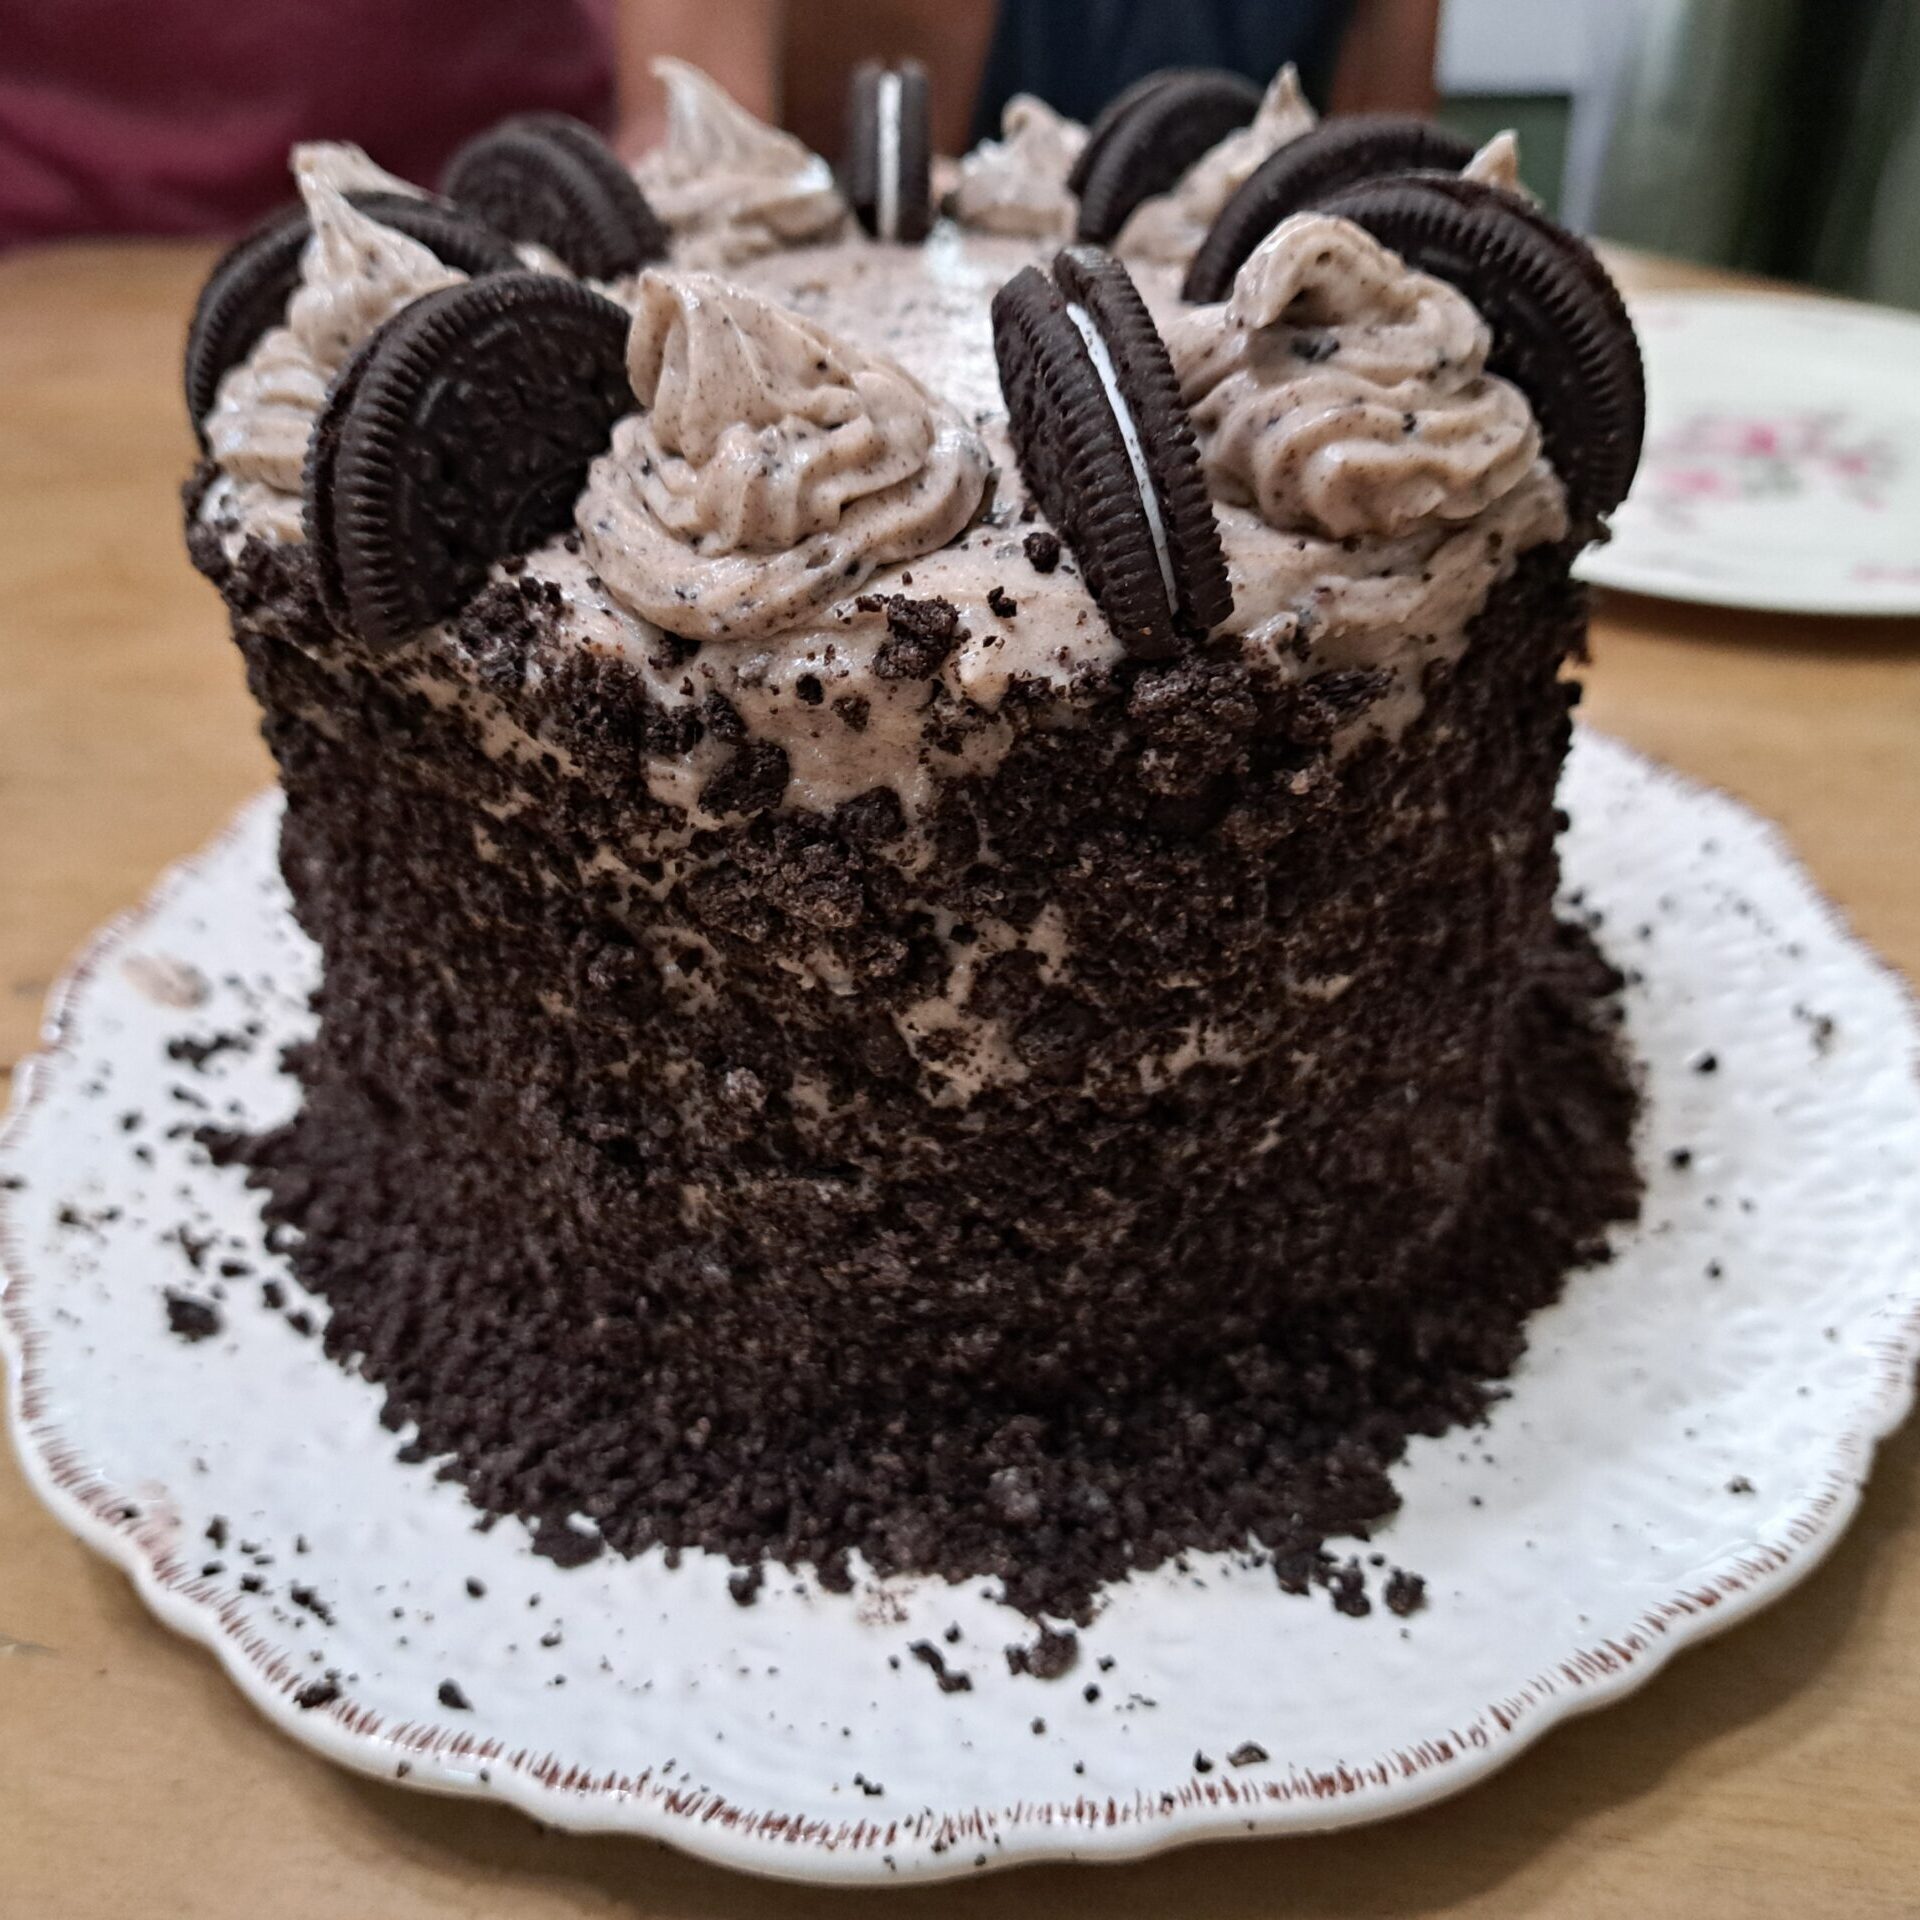
This cake recipe is a great base for any sort of icing and filling combo. I like to pair it with an italian meringe icing, but you can frost and decorate it with buttercream, whipped cream, fruit, flowers, cookies... the list goes on.

Starch has its place, of course. It will make your loaf rise more readily, and be less dense. Its great. But it needs to be balanced with flours, grains, and seeds which have texture, like brown rice flour, psyllium husk, and flaxseed. No gluten free mix will ever be exactly the same as a whole wheat blend, but it is possible to achieve the look, feel, and nutrition of whole grain bread.
This bread is nice and brown, speaking of its great whole grain properties, right? Wrong. The dark color is from the blackstrap molasses. Brown rice flour is actually pretty light, as are the other ingredients. So if you want a lighter loaf, use something like sugar, or a lighter molasses. I like to use the blackstrap to keep the sweetness light and to add a little extra nutrition.
I also have a sourdough brown bread recipe, which you can find here.
Good gluten free bread has to be made at home. Yes, you can find gluten free products at the grocery store. In fact, the gluten free aisle at the grocery store is full of bread products that taste like cardboard. Bagels, sandwich bread, hamburger and hotdog buns - they are all passable if you toast them, or cover them with butter. But they add nothing to a meal. Most of the premade gluten free options taste like cardboard. And if you look at the ingredient list, you will see that they are made of starch, and chemicals. Not really the "healthy" option, despite the reputation of the gluten free diet as healthy(ish).
The reality is that bread is a food designed around the properties of wheat. And the very thing we are trying to avoid in a gluten free diet - the gluten - is the property that makes bread work. It holds the dough together, and lets it stretch and rise. You will see and hear lots of mentions of "developing the gluten" in bread recipes or baking shows. None of that applies to gluten free bread. Or at least, it does not apply in the same way.
Gluten free baking is all about replacing the glutinous properties of wheat to get a similar result. In this recipe, I do that with flaxseed and psyllium husk. The flaxseed provides a gel and softness. The psyllium husk provides structure. The two of them together do a pretty good job of mimicking the natural properties of gluten and making the dough workable.
If you want a more textured wholemeal feel to the bread, you can also add chia seed. It will make the dough more gummy, so I recommend reducing the quantity of flaxseed to compensate. So, instead of doing 1/2 cup of ground flaxseed, do 1/4 cup flaxseed, and 1/4 cup chia seed.
I usually mix up the dough, and let the bread rise overnight in the oven with a damp cloth over it. By morning, it is doubled in size. The ~8ish hours of fermentation time gives it a nice sour flavor.
Unfortunately, I have not mastered the art of just using the natural rise of the sourdough starter, and so this recipe also calls for baking powder and baking soda.
There is another version of this recipe which is just a "quickbread" with no sourdough or rising required. Click here for my brown quickbread recipe.

Breakfast sandwich made of a sourdough biscuit and cheesey scrambled eggs with spinach
Then, earlier this year, I made my own gluten free sourdough starter. Suddenly I needed a use for all the sourdough discard! Enter the Sourdough Biscuit. They have a tangy flavor from the sourdough, and a texture that is almost exactly like a proper biscuit. I use Bob's Red Mill All Purpose Baking Flour, which is a mix of chickpea flour, starch, sorghum flour, and fava bean flour. I love that this mix has some protein from the chickpea and fava bean flours, and no xanthum gum. It makes for a hearty guilt-free biscuit.
Please note, I bake my biscuits on my cast iron baking sheet. This toasts the bottom very nicely, and they slide right off the pan. I always put the pan in the oven to preheat. If you are not using a cast iron sheet, you may need to adjust the cooking time.
At first, my orchids seemed stubbornly resistant to reblooming. I followed the basics — watering them regularly, fertilizing them, and moving them around the house to find the perfect window. Yet, nothing seemed to work. Then, one day, two beautiful new flowers appeared on my second-oldest orchid plant.
What was different? I had recently moved them to a west-facing window. There, they were getting bright indirect light for most of the day, with just a little bit of direct sunlight in the late afternoon. That bright mostly-filtered light was the thing they had been missing.
Phalaenopsis orchids, also known as "Moth Orchids," are epiphytes. This means they grow on other plants, typically big leafy trees that filter sunlight. Their native habitats are in regions like Indonesia, Southeast Asia, and Australia, where the climate is warm and humid.[source]
To keep orchids thriving, it’s essential to mimic their natural environment: providing bright, filtered light and the right humidity levels. You can maintain humidity through weekly watering and placing the pot on a gravel bed filled with water. While orchids might get a bit dry during the winter months (don’t we all?), they usually bounce back once conditions improve.

The trickiest part of orchid care is getting the light just right. Many guides suggest indirect light, but not all indirect light is created equal.
When I first started caring for orchids, I had only a north-facing window. Although it provided indirect light, it wasn’t strong enough to encourage blooming. My orchids remained healthy but flowerless.
After moving to a new place, I placed my orchids in a south-facing window. Unfortunately, the direct light was too intense, causing the edges of the leaves to turn brown from sunburn. Too much light can be just as detrimental as too little.
Finally, I settled my three Phalaenopsis orchids in a west-facing window. Here, they receive a bit of direct light in the late afternoon, filtered through the shade of several trees. This balance of light was perfect. Now, both of my older orchid plants have started growing flower stalks!
Getting Phalaenopsis orchids to rebloom can be a delicate balance of light, water, and temperature. For me, finding the right light was the breakthrough. If you’re struggling to get your orchids to rebloom, consider experimenting with different light exposures in your home. With patience and a bit of trial and error, you too can enjoy the beauty of reblooming orchids.
Mealybugs are the bane of house plants everywhere. They feed on the soft new growth of plants - leaves, flower buds, stems. They suck out the sap, and leave behind discolored leaves. Then they lay their eggs in the soil of your pot, ensuring that you will continue to be plagued by their children.
I never caught sight of the bugs themselves (they are very small). But the Wisconsin Horticulture website describes them as:
"...pink, soft-bodied insects covered with a white, waxy, cottony material. The white “fluff” helps protect them from excessive heat and moisture loss. Unlike their relatives the scales, most species retain their legs throughout their life and can move around. Females are rounded, wingless, and about 1/16″ long."[source]
When they are outside, mealybugs will be naturally kept in check by natural predators and inclement weather. But inside, they thrive and reproduce at a fast rate. While there are male and female mealybugs, they can reproduce asexually. So you only need one mealybug in order to get an infestation.[source]
The best practice is to make sure there are no mealybugs in your plants or pots before you bring them inside. But what if you forgot, or have an infestation in spite of every precaution?

There is hope! My fig tree put on new growth after the mealybugs were removed.
If your tree has mealybugs on the stems or leaves, then you can simply cut them off. But if the bugs are attacking the root system - which they probably are if you can see them - that is not really an option.
The following procedure saved my plant:
I also sprayed the whole tree (roots and branches) down with Insecticidal Soap for Organic Gardening before replanting. This might have been overkill.
My tree was stressed from the procedure, and so dropped all of its leaves. Only brown buds were left.
A week later, the buds sprouted new green leaves. The fig tree bounced back, and flourished on the back porch for the rest of the year. The mealybugs did not kill the tree. The cleaning procedure did not kill the tree.
I have grown fig trees on and off ever since. The tree I saved from mealybugs lived for many more years. You can read more about the trials and tribulations of growing figs in west-central Illinois here.
Otherwise, I leave this story here in the hopes that someone else faced with a similar dilemma will be able to use some combination of the above methods to save their plant.

